
This is a brief tutorial on how to use Adobe Reader’s ‘Signature’ tool.
Step 1 — Open the PDF you want to sign.
I started with a blank page to make it easier to see.

Step 2 — Click the ‘ink quill’ symbol on the far right side of the toolbar

It looks like this when opened:

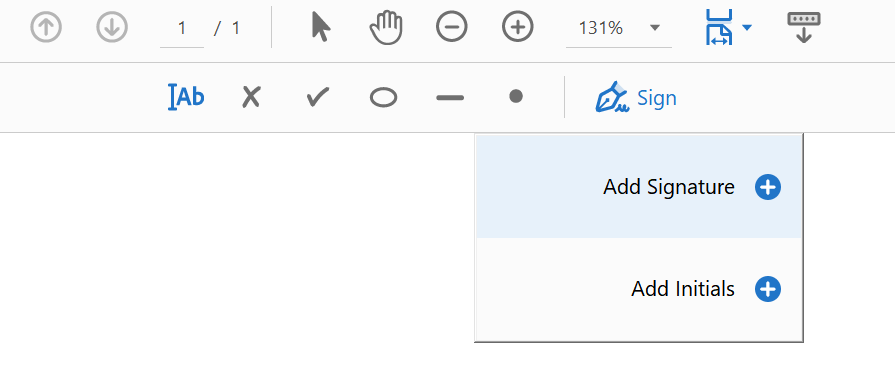
Step 3 — Click Add Signature
If it doesn’t automatically appear, click the blue ink quill + ‘sign’ symbol.
Step 4 — Enter your Signature
You have multiple choices on how to input a signature. You can
- 1) Type it and the computer will use a ‘signature font’
- 2) Hand write it if you have a pen and touchscreen — most authentic
- 3) Input an image of your signature


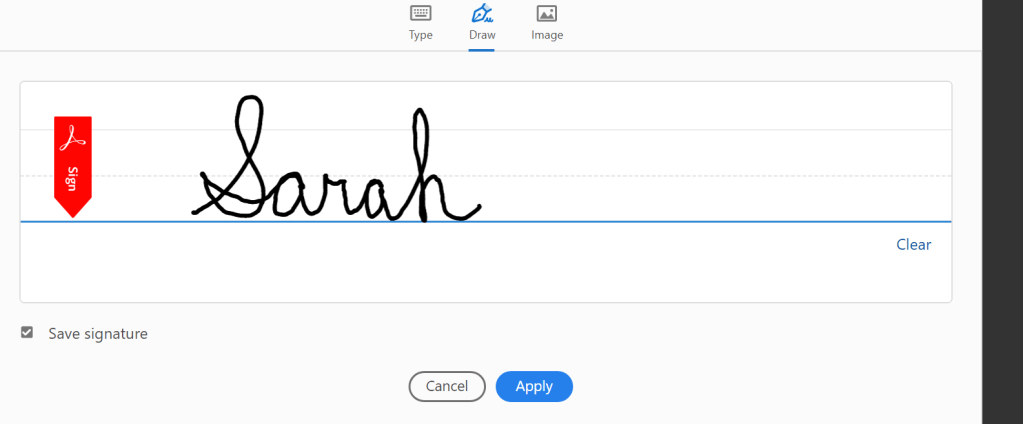
If you don’t like the signature font when typing, click the ‘style’ button and choose a different font.
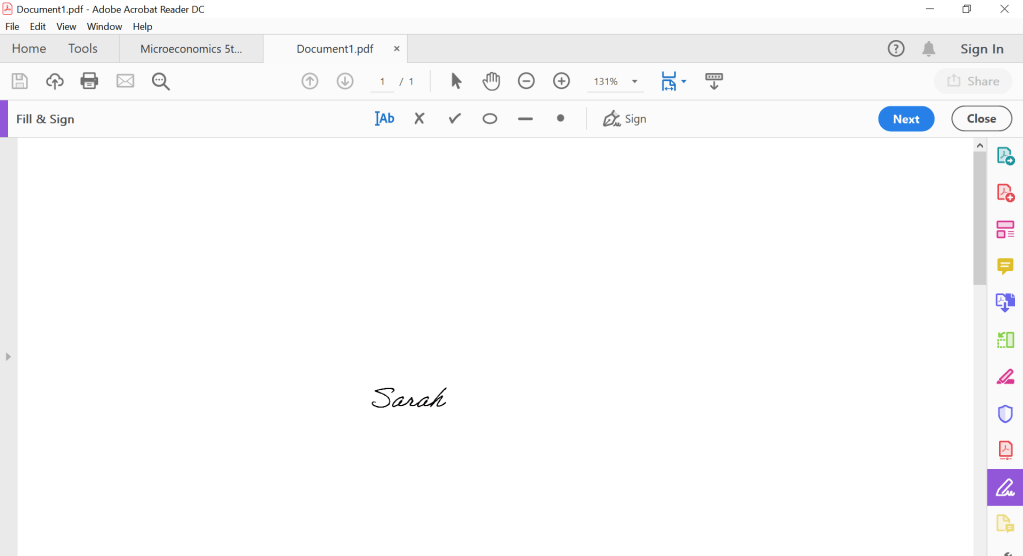
Step 5 — Click ‘Apply‘ and move the signature wherever you want it on the screen.
If you have a line you need to put it on, just drag it over there using your mouse.
Step 6 — Save as a new PDF
You’re done! Signed and ready to email.


Leave a comment